목표
web framework를 사용하여 간단한 web api server를 만들어 보겠습니다. 배포는 추후 포스트에서 다루겠습니다.
개발 환경
- ubnutu 18.04
- go version go1.16.3 linux/amd64 (업그레이드 방법: golang.org/doc/install)
webframework
프레임 워크는 간단한 RESTAPI 용도로 사용 할 것 이기 때문에 gin을 사용합니다.
사용 이유 : www.slant.co/versus/4796/4797/~beego_vs_gin-gonic
Slant - Beego vs Gin-gonic detailed comparison as of 2021
When comparing Beego vs Gin-gonic, the Slant community recommends Gin-gonic for most people. In the question "What are the best web frameworks for Go?" Gin-gonic is ranked 2nd while Beego is ranked 4th
www.slant.co
1. gin-swagger 설치
- gin과 swagger를 같이 사용 할것 이기 때문에 gin-swagger를 설치 하겠습니다.
- github.com/swaggo/gin-swagger 를 참조하여 설치
2. main.go 코드 작성
- main 코드만 있으면 go mod를 통하여 연관된 모든 패키지 설치가 가능 합니다.
doitnow-man.tistory.com/258 참조
package main

import (
	"github.com/gin-gonic/gin"
	swaggerFiles "github.com/swaggo/files"
	ginSwagger "github.com/swaggo/gin-swagger"

	_ "github.com/swaggo/gin-swagger/example/basic/docs" // docs is generated by Swag CLI, you have to import it.
)

// @title Swagger Example API
// @version 1.0
// @description This is a sample server Petstore server.
// @termsOfService http://swagger.io/terms/

// @contact.name API Support
// @contact.url http://www.swagger.io/support
// @contact.email support@swagger.io

// @license.name Apache 2.0
// @license.url http://www.apache.org/licenses/LICENSE-2.0.html

// @host petstore.swagger.io
// @BasePath /v2
func main() {
	r := gin.New()

	url := ginSwagger.URL("http://localhost:8080/swagger/doc.json") // The url pointing to API definition
	r.GET("/swagger/*any", ginSwagger.WrapHandler(swaggerFiles.Handler, url))

	r.Run()
}
3. go mod tidy로 관련 패키지 모두 설치 하기
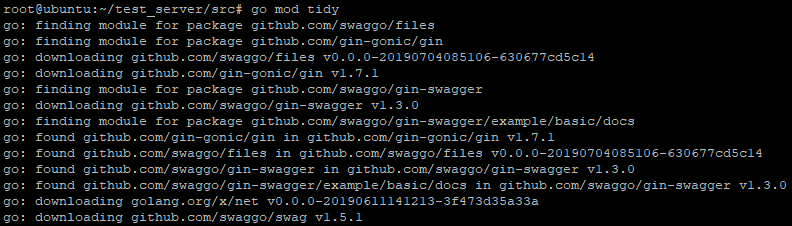
4. swagger 정상 동작 확인
#go run main.go

web 접속 화면 swagger의 sample page가 잘나옵니다.
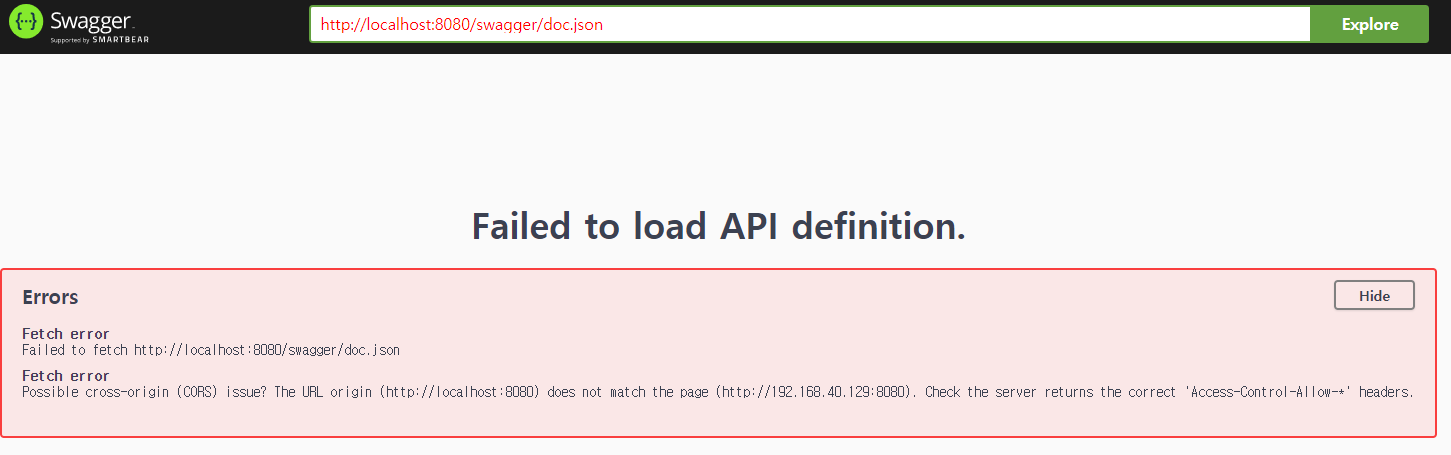
CORS에 거린 화면
- 기본 url 설정이 localhost 이기때문에 cors가 걸립니다. 그럴때는 localhost를 IP로 변경해주세요)
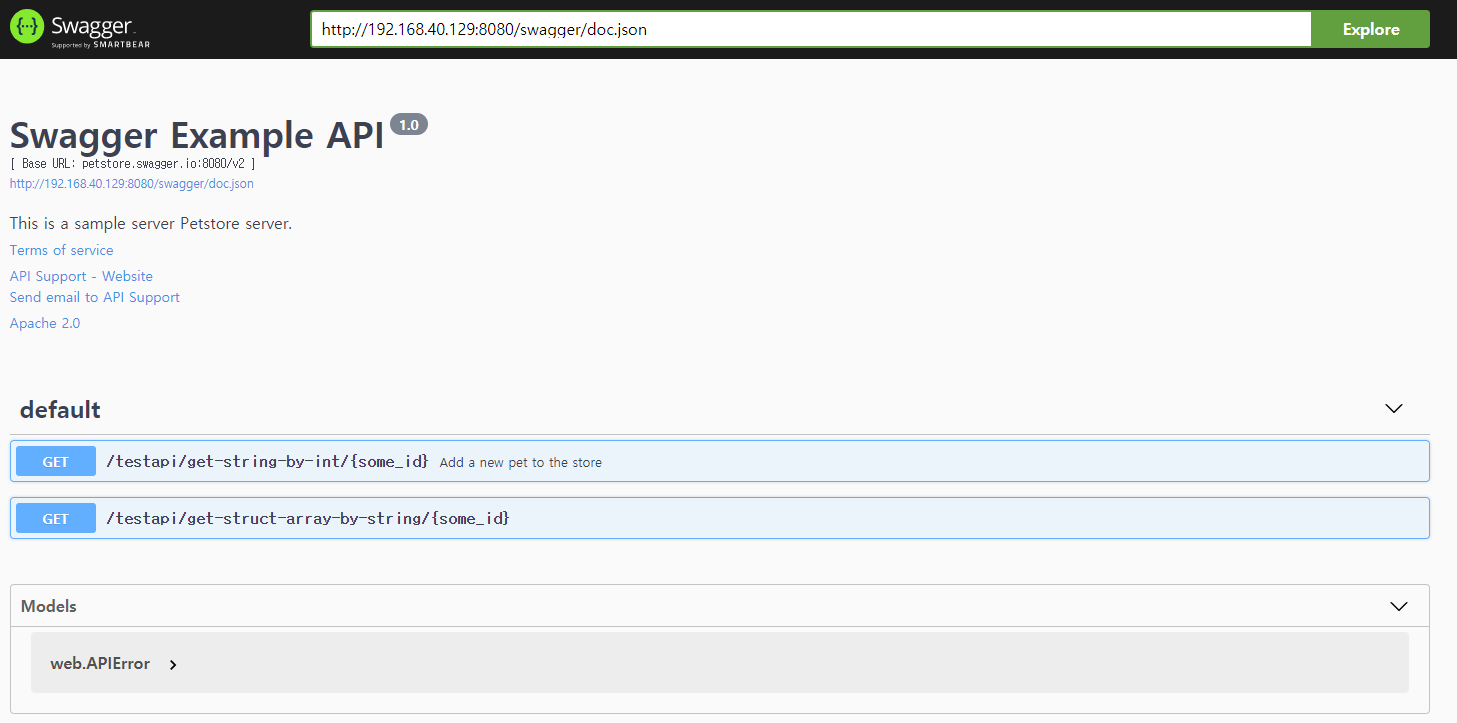
정상 화면
Source에 swagger에서 동작 가능한 API 추가하기
1. API 만들기
- 총 4개의 코드를 추가 합니다.
1) 정보를 표현할 구조체
- api의 호출시 표현할 정보를 json 으로 표현 하기위해 사용합니다.
- ` ` 이렇게 표시된 부분은 meta 정보를 의미 합니다.
ID에 값을넣으상태에서 JSON으로 변경하면 ID가 id로 치환이 됩니다. 아래 링크 보시면 빡 하고 이해 됩니다.
stackoverflow.com/questions/30681054/what-is-the-usage-of-backtick-in-golang-structs-definition
type welcomeModel struct {
  ID   int    `json:"id" example:"1" format:"int64"`
  Name string `json:"name" example:"account name"`
}
2) API function
- 주석들은 swagger에 표시될 설명 들이고 function 은 API 호출될 떄 실행 됩니다.
// Welcome godoc
// @Summary Summary를 적어 줍니다
// @Description 자세한 설명은 이곳에 적습니다.
// @name get-string-by-int
// @Accept  json
// @Produce  json
// @Param name path string true "User name"
// @Router /welcome/{name} [get]
// @Success 200 {object} welcomeModel
func welcomeApi(c *gin.Context) {
  name := c.Param("name")
  message := name + " is very handsome!"
  welcomeMessage := welcomeModel{1, message}

  // welcomeMessage := model.User{ID: 1, Name: name}

  c.JSON(200, gin.H{"message": welcomeMessage})
}
3) programable programmatically set swagger info
- swagger를 설정 합니다.
- hostdocs.SwaggerInfo.Host는 현재 swagger가 실행되고 있는 서버의 IP를 입력 합니다.
 func main() {
   // programmatically set swagger info
   docs.SwaggerInfo.Title = "Swagger Example API"
   docs.SwaggerInfo.Description = "This is a sample server Petstore server."
   docs.SwaggerInfo.Version = "1.0"
   docs.SwaggerInfo.Host = "192.168.40.129:8080"
   docs.SwaggerInfo.BasePath = ""
   docs.SwaggerInfo.Schemes = []string{"http", "https"}

   ....
}
4) routing url 추가
func main() {
    ....

    r.GET("/welcome/:name", welcomeApi)

    ....
}
*전체 코드*
package main

import (
  "github.com/gin-gonic/gin"
  swaggerFiles "github.com/swaggo/files"
  ginSwagger "github.com/swaggo/gin-swagger"

  "github.com/doitnowman/test_server/docs" // docs is generated by Swag CLI, you have to import it.
)

type welcomeModel struct {
  ID   int    `json:"id" example:"1" format:"int64"`
  Name string `json:"name" example:"account name"`
}

// Welcome godoc
// @Summary Summary를 적어 줍니다
// @Description 자세한 설명은 이곳에 적습니다.
// @name get-string-by-int
// @Accept  json
// @Produce  json
// @Param name path string true "User name"
// @Router /welcome/{name} [get]
// @Success 200 {object} welcomeModel
func welcomeApi(c *gin.Context) {
  name := c.Param("name")
  message := name + " is very handsome!"
  welcomeMessage := welcomeModel{1, message}

  // welcomeMessage := model.User{ID: 1, Name: name}

  c.JSON(200, gin.H{"message": welcomeMessage})
}

// @title Swagger Example API
// @version 1.0
// @description This is a sample server Petstore server.
// @termsOfService http://swagger.io/terms/

// @contact.name API Support
// @contact.url http://www.swagger.io/support
// @contact.email support@swagger.io

// @license.name Apache 2.0
// @license.url http://www.apache.org/licenses/LICENSE-2.0.html

// @host petstore.swagger.io
// @BasePath /v2
func main() {
  // programmatically set swagger info
  docs.SwaggerInfo.Title = "Swagger Example API"
  docs.SwaggerInfo.Description = "This is a sample server Petstore server."
  docs.SwaggerInfo.Version = "1.0"
  docs.SwaggerInfo.Host = "192.168.40.129:8080"
  docs.SwaggerInfo.BasePath = ""
  docs.SwaggerInfo.Schemes = []string{"http", "https"}

  r := gin.New()

  url := ginSwagger.URL("http://192.168.40.129:8080/swagger/doc.json") // The url pointing to API definition
  r.GET("/swagger/*any", ginSwagger.WrapHandler(swaggerFiles.Handler, url))
  r.GET("/welcome/:name", welcomeApi)


  r.Run()
}
swagger docs 만들기
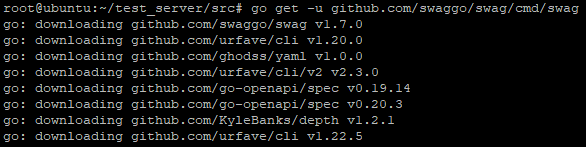
1. swagger cli 설치
2. swagger doc 만들고 main.go에 적용 시키기
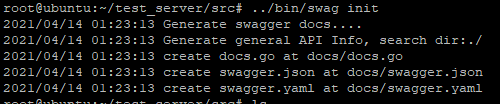
1)swag init 을 통하여 source 코드의 annotations 기반으로 API 문서를 만듭니다.
swagger 동작 확인 하기
1. server를 실행 합니다.
# go run main.go

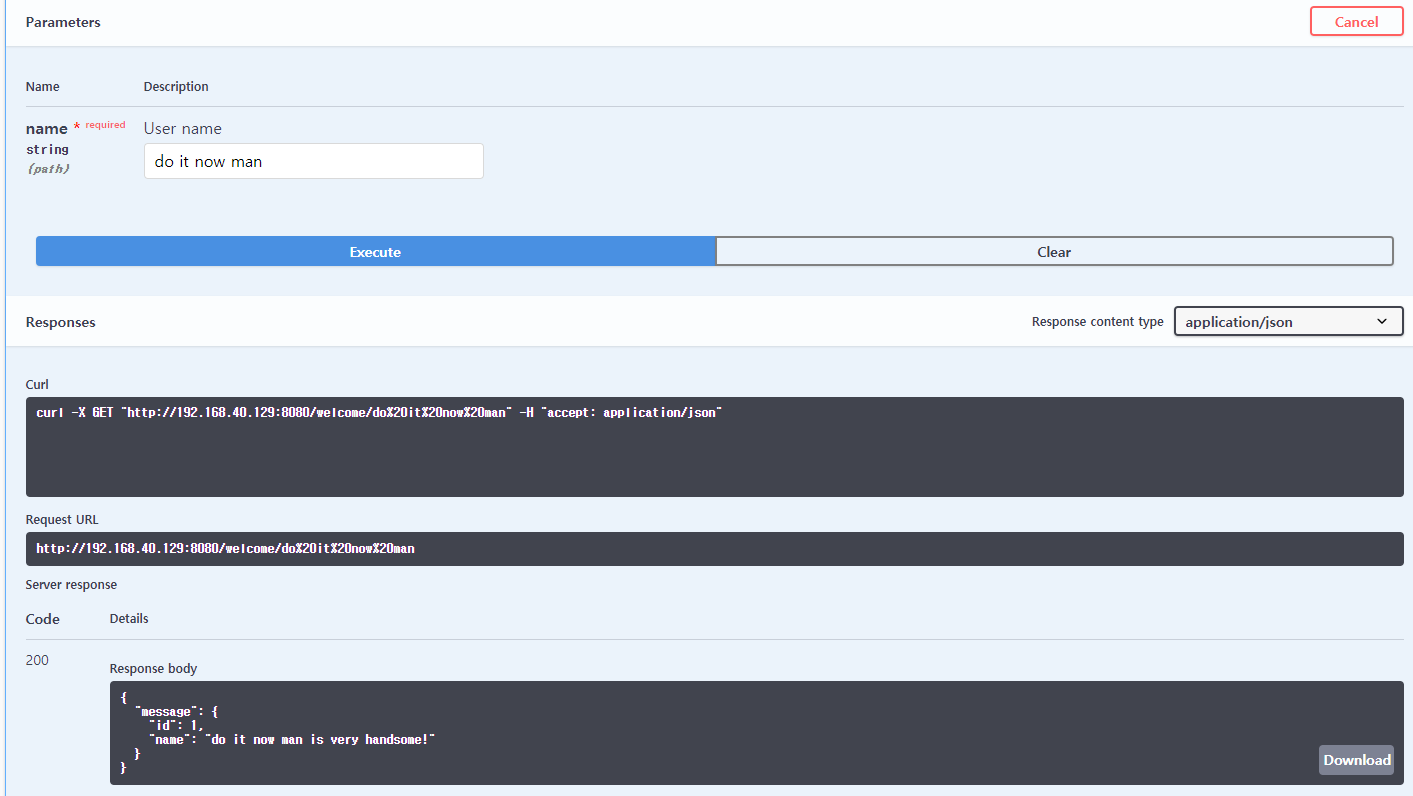
2. web에서 swagger 동작 확인
- API가 잘 등록 되었습니다.

- API 잘 실행 됩니다.
참조 싸이트
[Go Lang] 3. Package 관리
Package란? 다른 사람이 만든 함수들의 모임이라고 정의 할 수 있다. 프로그래밍을 하면은 수많은 Package를 설치 하게 됩니다. Package는 어디에 설치 되는가? 인터텟의 튜토리얼을 보면 이거 설치 하
doitnow-man.tistory.com
'ProgrammingLang > Go' 카테고리의 다른 글
| [go] 개발에 도움되는 오픈소스 (0) | 2023.01.18 |
|---|---|
| [Go Lang] package xx is not in GOROOT (/snap/go/9028/src/xx) 해결 방법 (0) | 2022.03.03 |
| [Go Lang] 3. Package 관리 (0) | 2021.04.08 |
| [Go Lang] 2. 핵심 문법 (0) | 2020.06.09 |
| [Go Lang] 1. 프로그램의 기본 구조 (0) | 2020.06.09 |